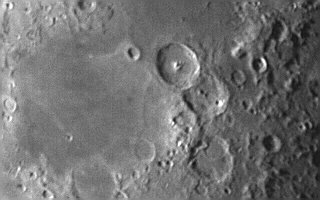


The site is in a suburban area with a lot of light pollution. There are trees all around and the
backyard is not the best of conditions. The site was placed close to the garage because it sits northward and
the limiting wire
on one of the cameras was
only 13'. Being a creature of comfort the garage was needed with a space heater for Winter and away from the
mosquitoes in the
Summer. This site shows that with the proper filters, viewing can be done visually with satisfaction and reasonably good photos
can be taken with CCD cameras all for a reasonable price that any amateur can afford. The observatory was designed in June 2003
and built in July and August with no previous experience of any kind.
As of 2014 the Snobie Observatory has moved to Bear,
Delaware and has a new look with the addition of the Lincoln Control Center. Photos are at the bottom of this page.
|
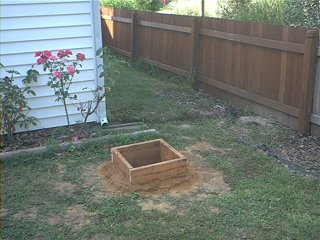
A hole was dug 3' deep and 1.5' square and framed at the top with 2x6 lumber. |
|
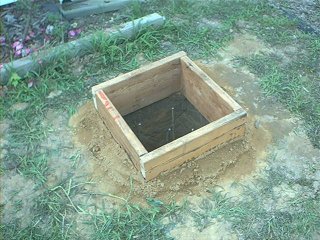
Five reinforcing rods were hammered about 6" into bottom of the hole. |
 |
|
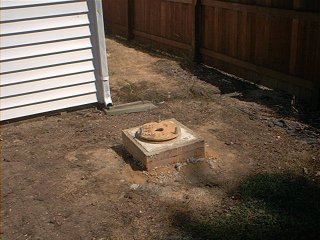
Twelve 80lb bags of concrete were mixed one bag at a time in a wheelbarrow. Just enough water was
added to make the concrete mix well but flow thick and slow. The template for the Astropier was placed in top of concrete per
instructions with bolt towards fence/garage lined up with Polaris. Concrete was allowed to set for 14 days. |
|
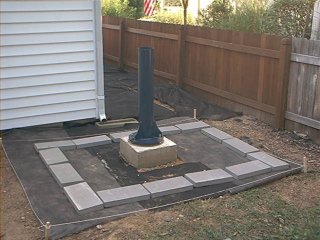
Ground cover and blocks were laid out and vegetation killer was applied. The Astropier was mounted to the anchor bolts in concrete. |
 |
|
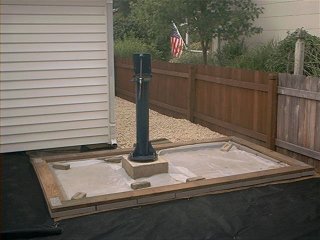
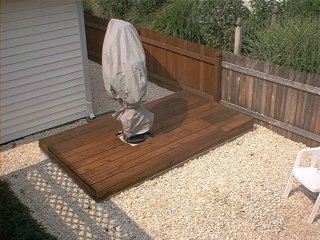
Blocks were laid out and plate for platform was installed. |
|
Platform was constructed with joists about 12" apart. |
 |
|
Another view. |
|
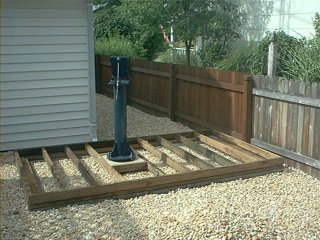
Top 2"x6" boards were put in place. Scope was put in place and covered with tarp. |
 |
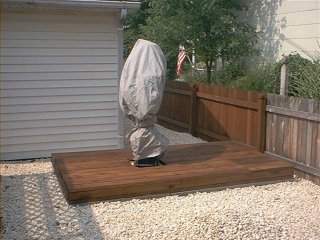
|
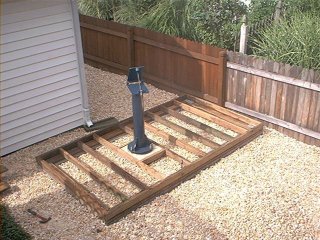
Another view |
|
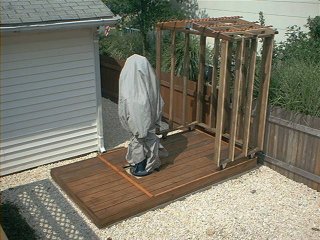
Framing for observatory was erected with 2"x4" lumber. |
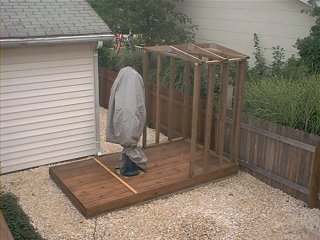 |
|
Another view |
|
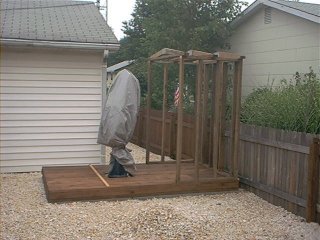
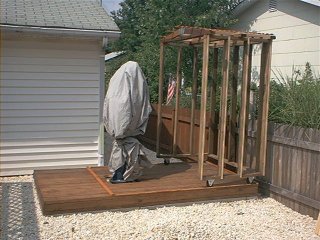
Two 4" wheels were added to each side. |
 |
|
Another view |
|
T111 plywood was added to framing. |
 |
|
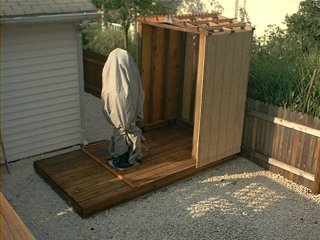
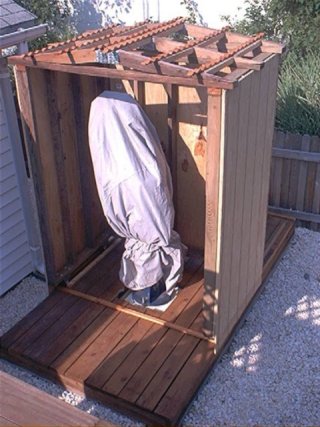
Observatory was rolled over scope. |
|
Another view. Can see the roof joists for the corrugated vinyl roofing that will be put on. |
 |
|
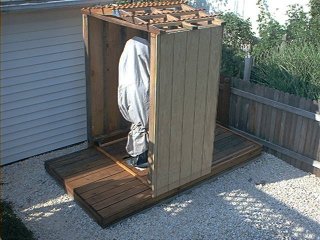
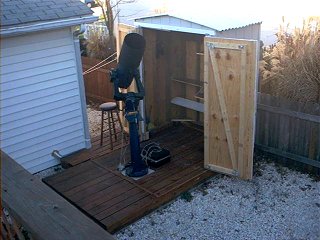
Tarp removed from scope and corrugated vinyl roofing put on. Doors were made from scratch
with T111 plywood and 2"x3" lumber. |
|
Another view |
 |
|
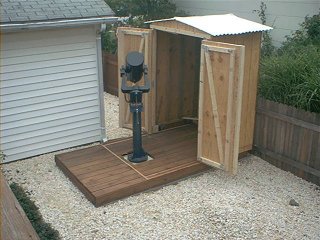
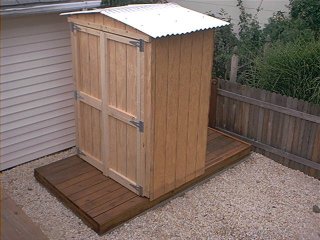
Completed but not painted. |
|
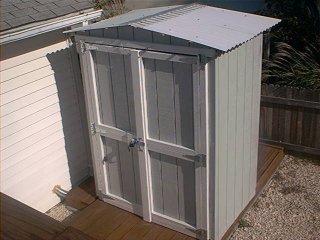
Completed and painted. Duh! |
 |
|
This view shows the 4" silver clothes dryer tubing that was used to run all the wires
into the garage. |
|
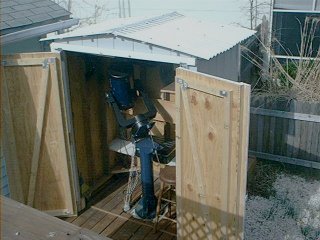
There were only 3 errors made during construction. Two were corrected and cannot be seen. The other one was the pier should have
been 16" off center of the building. To correct for this, decking was constructed where the stool is sitting so visual
observing could
be done easier. |
 |
|
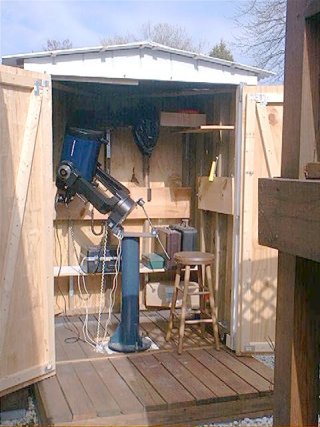
This view shows the shelving which was hung on chains so they could be raised and hooked out of the
way of the scope. |
|
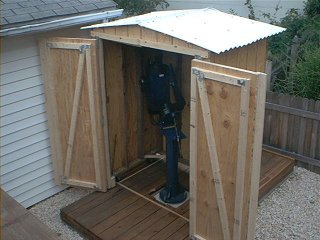
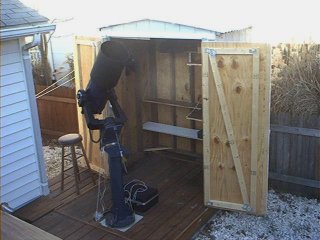
This is how the scope fits in the observatory. |
 |
|
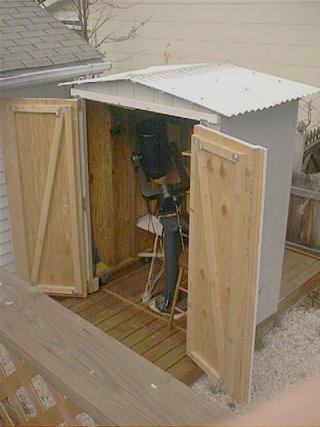
Another view |
|
Final view of how everything having to do with the scope is stored. |
 |
 |
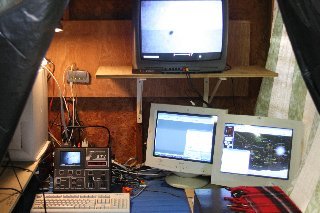
This is the control center inside the garage. |
|
Inside the control center with STV camera control, computer, and monitors. |
 |
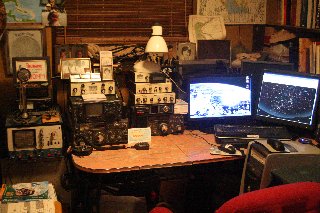 |
This is the control center inside my house. |
New Snobie Observatory & Lincoln
Control Center 2014
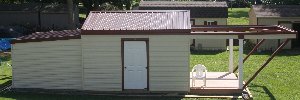
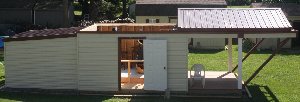
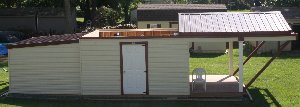
Snobie Observatory with Lincoln Control Center
Ronald J. Worden
wordenrj@magpage.com
Copyright Unique Treasures Design